
This post contains affiliate links. If you purchase through these links, I may earn a small commission at no extra cost to you. Thank you for supporting my blog!

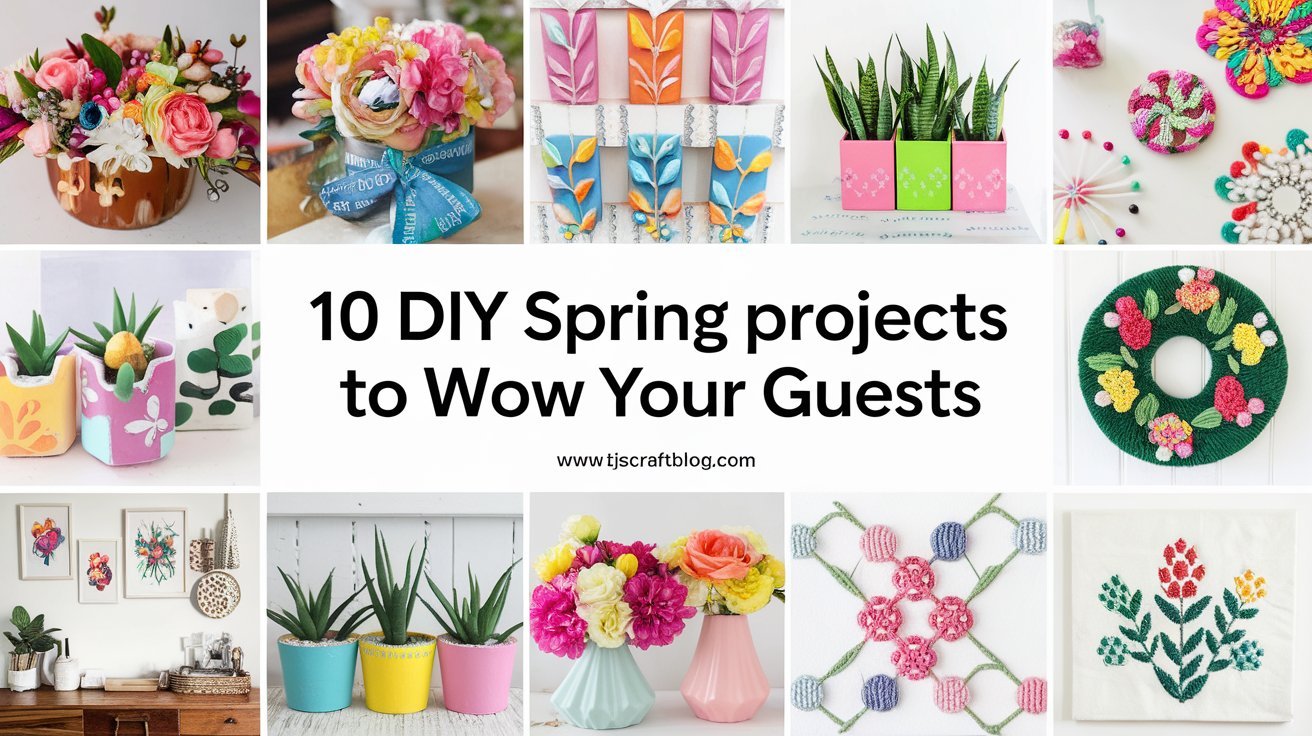
Spring is in the air, and so is the urge to refresh our homes! But who has time for complicated projects? Not to worry, fellow DIY enthusiasts! This post is packed with five breezy spring home decor DIYs you can tackle in just an afternoon. Whether you’re a seasoned crafter or just starting out, these projects will add a touch of spring magic to your space without breaking the bank or your schedule. Get ready to unleash your creativity and welcome the season in style!
From vibrant floral wreaths to charming upcycled garlands, these projects offer a little something for everyone. So, grab your supplies, put on some cheerful music, and let’s dive into these quick and easy spring DIYs!
1. Blooming Beauty: DIY Floral Wreath

A floral wreath is the quintessential symbol of spring, and creating your own adds a personal touch to your home’s welcome. This project is surprisingly simple and allows you to customize colors and textures to perfectly match your decor.
Explanation: This DIY project involves creating a beautiful floral wreath using a wreath frame, faux flowers, and a few other readily available craft supplies. It’s a fantastic way to add a pop of spring color to your front door, living room, or any space that needs a touch of floral charm.
Materials Needed:
- Floral wire wreath frame
- Faux flowers (various colors and sizes)
- Floral tape
- Wire cutters
- Hot glue gun and glue sticks
- Green ribbon (for hanging)
Creation Steps:
- Trim the stems of your faux flowers to about 2-3 inches.
- Arrange the flowers in clusters on the wreath frame to visualize your design.
- Secure each cluster to the frame with floral tape.
- Apply hot glue to the base of each flower cluster for extra hold.
- Attach a green ribbon to the top of the wreath frame for hanging.
Imagine This: Imagine a wreath bursting with vibrant tulips, delicate cherry blossoms, and cheerful daffodils. The soft scent of spring (even if it’s just your imagination!) wafts through the air as you admire your handiwork. The colors pop against your front door, welcoming guests with a touch of seasonal cheer.
Idea Deep Dive: Don’t be afraid to experiment with different flower types, colors, and textures. Add some greenery, like ferns or eucalyptus, for a more natural look. You could even incorporate small embellishments like butterflies, eggs, or miniature birdhouses for a whimsical touch. For a rustic vibe, use a grapevine wreath instead of a wire frame.
2. Painted Perfection: Terracotta Pots

Transforming plain terra cotta pots with paint is a simple yet impactful way to add personality to your plants and your home. This project is perfect for using up leftover paint and creating unique planters that reflect your style.
Explanation: This DIY project involves painting plain terra cotta pots with acrylic paint to create decorative planters. It’s a fun and easy way to personalize your plant displays and add a splash of color to your indoor or outdoor spaces.
Materials Needed:
- Terracotta pots
- Acrylic paint (various colors)
- Paintbrushes (various sizes)
- Painter’s tape (optional)
- Sealant (optional, for outdoor use)
Creation Steps:
- Clean the terracotta pots to remove any dirt or debris.
- Apply a base coat of paint to each pot.
- Once the base coat is dry, add your desired designs using painter’s tape or freehand painting.
- Let the paint dry completely.
- Apply a sealant if you plan to use the pots outdoors.
Imagine This: Picture a collection of terracotta pots, each one a miniature work of art. One pot features bold geometric patterns, another showcases delicate floral designs, and a third boasts a vibrant ombre effect. Your plants look happy and stylish in their newly decorated homes.
Idea Deep Dive: Get creative with your designs! Try using stencils, sponges, or even textured paint for added interest. Consider painting the inside of the pot a contrasting color for a fun surprise. For a more sophisticated look, use metallic paints or create a marbled effect.
3. Center of Attention: Spring Table Centerpiece

A beautiful table centerpiece can instantly elevate the look of your dining area. This project allows you to create a stunning focal point that celebrates the beauty of spring.
Explanation: This DIY project involves creating a spring-themed table centerpiece using fresh flowers, greenery, and other decorative elements. It’s a wonderful way to bring the freshness of the season indoors and create a welcoming atmosphere for meals and gatherings.
Materials Needed:
- Vase or container
- Fresh flowers (e.g., tulips, daffodils, hyacinths)
- Greenery (e.g., ferns, eucalyptus)
- Floral foam (optional)
- Decorative stones or other accents
Creation Steps:
- Prepare your flowers by trimming the stems at an angle.
- If using floral foam, soak it in water and place it in your container.
- Arrange the flowers and greenery in the container, starting with the tallest elements in the center.
- Add decorative stones or other accents to fill in any gaps.
Imagine This: A low, wide vase overflows with vibrant tulips, fragrant hyacinths, and lush greenery. The centerpiece sits gracefully on your dining table, adding a touch of elegance and springtime charm to your meals. The fresh floral scent fills the air, creating a warm and inviting atmosphere.
Idea Deep Dive: Consider using seasonal fruits or vegetables, like lemons or artichokes, for a unique touch. Add candles or other decorative elements to enhance the centerpiece’s ambiance. For a more rustic look, use a wooden box or a woven basket as your container.
4. Double the Decor: Reversible Wall Art

Why settle for one piece of wall art when you can have two? This project allows you to create a reversible wall hanging, giving you the flexibility to switch up your decor whenever you like.
Explanation: This DIY project involves creating a reversible wall art piece by painting two different designs on two canvases and then attaching them together. It’s a clever way to add versatility to your wall decor and easily change up your style.
Materials Needed:
- Two canvases (same size)
- Acrylic paint (various colors)
- Paintbrushes
- Painter’s tape (optional)
- Hanging hardware
Creation Steps:
- Paint one design on each canvas.
- Let the paint dry completely.
- Attach the two canvases together, back to back, using glue or staples.
- Attach hanging hardware to one side of the canvas.
Imagine This: One side of your reversible wall art features a calming abstract design in soft pastel colors, perfect for creating a relaxing atmosphere. The other side showcases a bold, vibrant floral pattern that adds a pop of energy to the room. You can easily flip the canvas to match your mood or the season.
Idea Deep Dive: Consider using different themes or color palettes for each side of the canvas. You could even create a seasonal theme, with one side representing spring and the other representing fall. For a more textured look, experiment with different painting techniques, like impasto or glazing.
5. Upcycled Charm: Spring Garland

Give new life to old materials by creating a charming spring garland. This project is not only eco-friendly but also adds a touch of whimsy to your home.
Explanation: This DIY project involves creating a spring garland using upcycled materials like fabric scraps, paper scraps, or yarn. It’s a fun and sustainable way to add a festive touch to your mantel, staircase, or any space that needs a bit of spring cheer.
Materials Needed:
- Upcycled materials (fabric scraps, paper scraps, yarn, etc.)
- Scissors
- String or twine
- Glue or sewing machine
Creation Steps:
- Cut your upcycled materials into desired shapes (e.g., flowers, leaves, butterflies).
- Attach the shapes to the string or twine using glue or by sewing them on.
- Hang the garland in your desired location.
Imagine This: A colorful garland made from fabric scraps and paper cutouts dances gently in the breeze. The whimsical shapes, inspired by spring, add a playful touch to your living room. You feel good knowing you’ve created something beautiful from recycled materials.
Idea Deep Dive: Get creative with the shapes and materials you use. Incorporate buttons, beads, or other embellishments for added detail. For a more rustic look, use natural materials like twigs or dried flowers. You can even personalize the garland with names or messages.
Conclusion
These five breezy spring home decor DIYs are the perfect way to refresh your space without spending a fortune or sacrificing your entire afternoon. From floral wreaths to upcycled garlands, these projects offer a variety of options for adding a touch of spring magic to your home. So, gather your supplies, unleash your creativity, and get ready to welcome the season in style!
We encourage you to try these DIY projects and share your creations with us on social media using the hashtag #TJsCraftBlog. We’d love to see your unique take on these spring-inspired creations!
Don’t forget to subscribe to our blog for more DIY inspiration and join our online community of crafters. We’re always excited to see what you’re making and share new ideas.
And last but certainly not least, leave a comment below with your favorite project or any additional suggestions you may have. Happy crafting!


Pingback: 15 Easy Spring DIY Ideas to Instantly Refresh Your Home Decor – TJ's Craft Blog