This post may contain affiliate links, meaning I may earn a small commission at no extra cost to you.

Spring is here! The days are getting longer, the birds are singing, and nature is bursting back to life. But inside? You might be staring at dust bunnies, cluttered countertops, and that ever-growing pile of “I’ll deal with it later” stuff.
Spring cleaning may feel overwhelming, but trust me—it’s worth it. A freshly cleaned home not only looks better but also improves your mood, reduces stress, and sets the tone for a fresh season. The key is to break the process down into manageable, room-by-room steps. And don’t worry—I’ve got printable checklists to keep you on track.
By the end of this guide, your home will be sparkling, organized, and ready to welcome spring with open arms. Let’s get started!
Preparing for Your Spring Clean
Before you dive into scrubbing and decluttering, a little prep work will make the process smoother and more efficient.
Gather Your Supplies
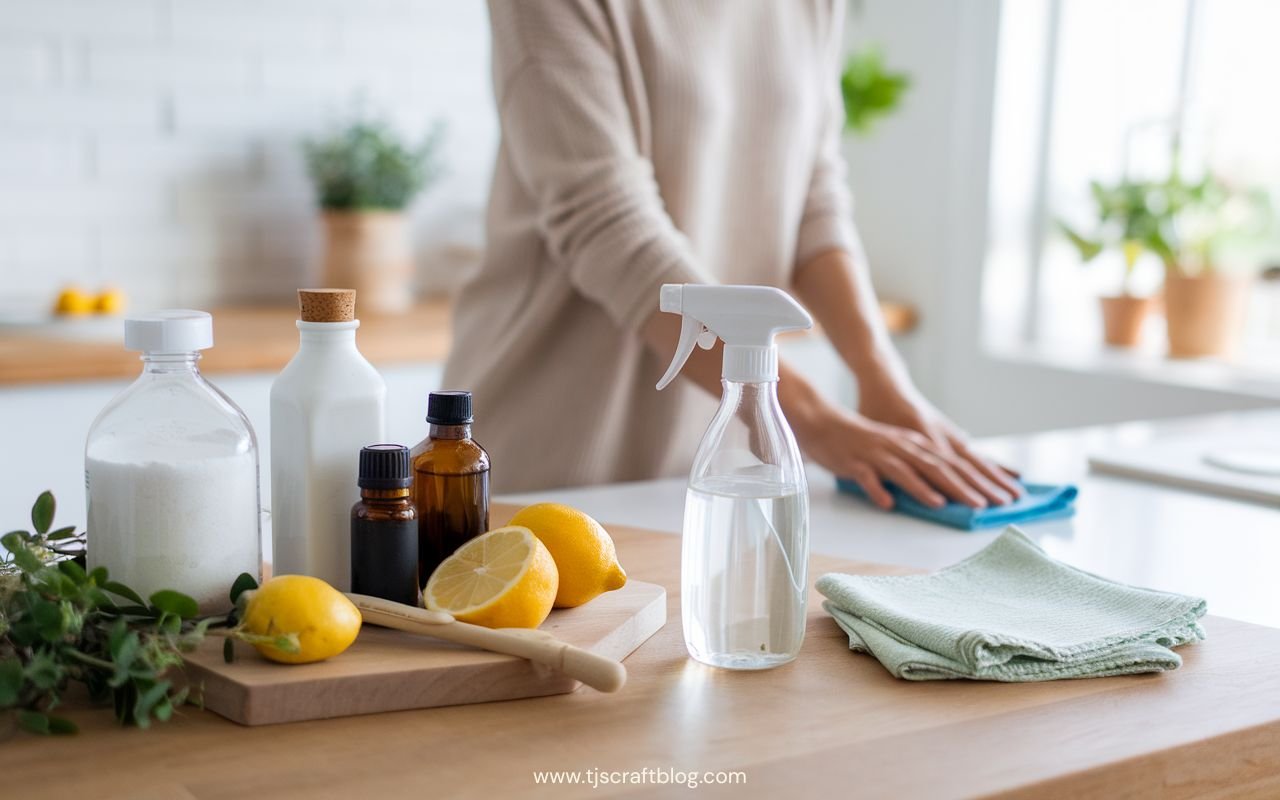
Think of this as assembling your cleaning arsenal. Having the right tools on hand means fewer interruptions and faster progress. Here’s what you’ll need:
- All-purpose cleaner – A versatile option for multiple surfaces. Consider an eco-friendly choice for a healthier home.
- Microfiber cloths – These trap dust and dirt without scratching surfaces.
- Sponges – For tackling tougher grime.
- Vacuum cleaner – With attachments for different surfaces.
- Mop and bucket – To get floors sparkling clean.
- Cleaning brushes – Ideal for grout and other hard-to-reach areas.
- Garbage bags – Essential for decluttering and disposing of trash.
- Cleaning Caddy – To hold all your supplies and make it easier to move them from room to room.
Declutter First
Cleaning is so much easier when you don’t have to work around clutter. Go room by room and sort items into categories: keep, donate, sell, or toss. If you haven’t used something in the past year, it might be time to let it go. Bonus: fewer things mean less to clean!
Create a Schedule
Spring cleaning doesn’t have to be an exhausting weekend marathon. Break it into manageable chunks. Tackle one room per day or dedicate a few hours each weekend. Use your planner or a cleaning app to schedule tasks and track progress.
Room-by-Room Deep Cleaning Guide
Now that you’re ready, let’s get into the details! Here’s how to deep clean each space effectively.
The Kitchen: More Than Just a Quick Wipe-Down

The kitchen sees the most activity in the home, making it one of the hardest rooms to keep clean. Food prep, spills, and daily messes mean this space needs extra attention.
Step-by-Step Deep Clean:
- Clear surfaces – Start by removing everything from counters, shelves, and cabinets.
- Clean appliances – Wipe down the exterior of your refrigerator, oven, and dishwasher. Deep clean the inside of your fridge and discard expired food.
- Degrease surfaces – Use a degreaser on stovetops, range hoods, and backsplash areas.
- Sanitize sink and garbage disposal – Run lemon peels and baking soda through the disposal for freshness.
- Organize pantry – Toss expired items, wipe shelves, and categorize food for easy access.
- Scrub grout – Use a grout brush and cleaning solution to remove grime.
The Bathroom: A Sparkling Sanctuary

Bathrooms are prone to moisture buildup, which can lead to mold and mildew. Regular deep cleaning is essential to keep this space fresh and hygienic.
Step-by-Step Deep Clean:
- Declutter countertops and shower caddies – Store only the essentials to reduce clutter.
- Scrub the tub and shower – Use a powerful cleaner to remove soap scum and mildew.
- Clean mirrors and glass – A streak-free glass cleaner works best.
- Sanitize the toilet – Don’t forget to clean around the base and behind the toilet.
- Deep clean grout and tiles – Use a grout brush and disinfectant.
- Wash bath mats and towels – Launder these items regularly to keep them fresh.
The Living Room: A Cozy, Clutter-Free Space

Your living room is where you relax, entertain, and unwind. Keeping it clean creates a more inviting atmosphere.
Step-by-Step Deep Clean:
- Dust all surfaces – Don’t forget baseboards, bookshelves, and ceiling fans.
- Vacuum upholstery and rugs – Use attachments to get into crevices.
- Wash curtains and blinds – These collect a surprising amount of dust.
- Declutter entertainment centers – Organize cables, DVDs, and decor.
- Disinfect high-touch areas – Remote controls, doorknobs, and light switches need regular sanitizing.
The Bedrooms: A Restful Retreat

A clean and organized bedroom can improve sleep and reduce stress.
Step-by-Step Deep Clean:
- Change and wash bedding – Sheets, pillowcases, and comforters should be washed regularly.
- Vacuum and mop floors – Pay extra attention to dust buildup under the bed.
- Declutter nightstands and dressers – Keep only essentials within reach.
- Organize the closet – Donate clothes you no longer wear.
- Clean light fixtures and fans – Dust and wipe down to improve air quality.
Other Areas: Don’t Overlook These Spaces!
Laundry Room:

- Wipe down washer and dryer
- Sweep and mop floors
- Organize laundry supplies
- Clean lint trap and dryer vent
Hallways & Entryways:
- Dust surfaces and baseboards
- Sweep or vacuum floors
- Organize shoes and coats
- Wipe down light switches and doorknobs
By following these detailed checklists, you’ll transform your home into a clean, organized, and welcoming space!
Final Thoughts
Congratulations! Your home is now refreshed and ready for spring. A clean space isn’t just about appearances—it reduces stress, improves air quality, and creates a welcoming atmosphere.
Spring cleaning doesn’t have to be overwhelming. By following this room-by-room approach and tackling tasks gradually, you can enjoy the process and maintain a cleaner home year-round.
✅ Download the complete set of printable checklists to keep your cleaning on track.
📸 Share your before-and-after photos on social media using #TJsSpringClean, don’t forget to tag me @tjscraftblog in your posts.
💬 Drop a comment below with your best spring cleaning tip!