This post may contain affiliate links, meaning I may earn a small commission at no extra cost to you.

St. Patrick’s Day, a celebration steeped in Irish tradition, is a time for merriment, green hues, and of course, the iconic shamrock. This three-leafed emblem, representing faith, hope, and love, has become synonymous with the holiday. While store-bought decorations are readily available, there’s a unique charm in crafting your own, adding a personal touch to your festivities. Today, we’ll embark on a delightful journey to create a charming felt shamrock garland – a simple yet eye-catching decoration that’s perfect for both seasoned crafters and beginners. Get ready to transform your space into a festive haven with this easy-to-follow, no-sew project.
Materials and Preparation
Before we dive into the crafting process, let’s gather our materials. Here’s what you’ll need:
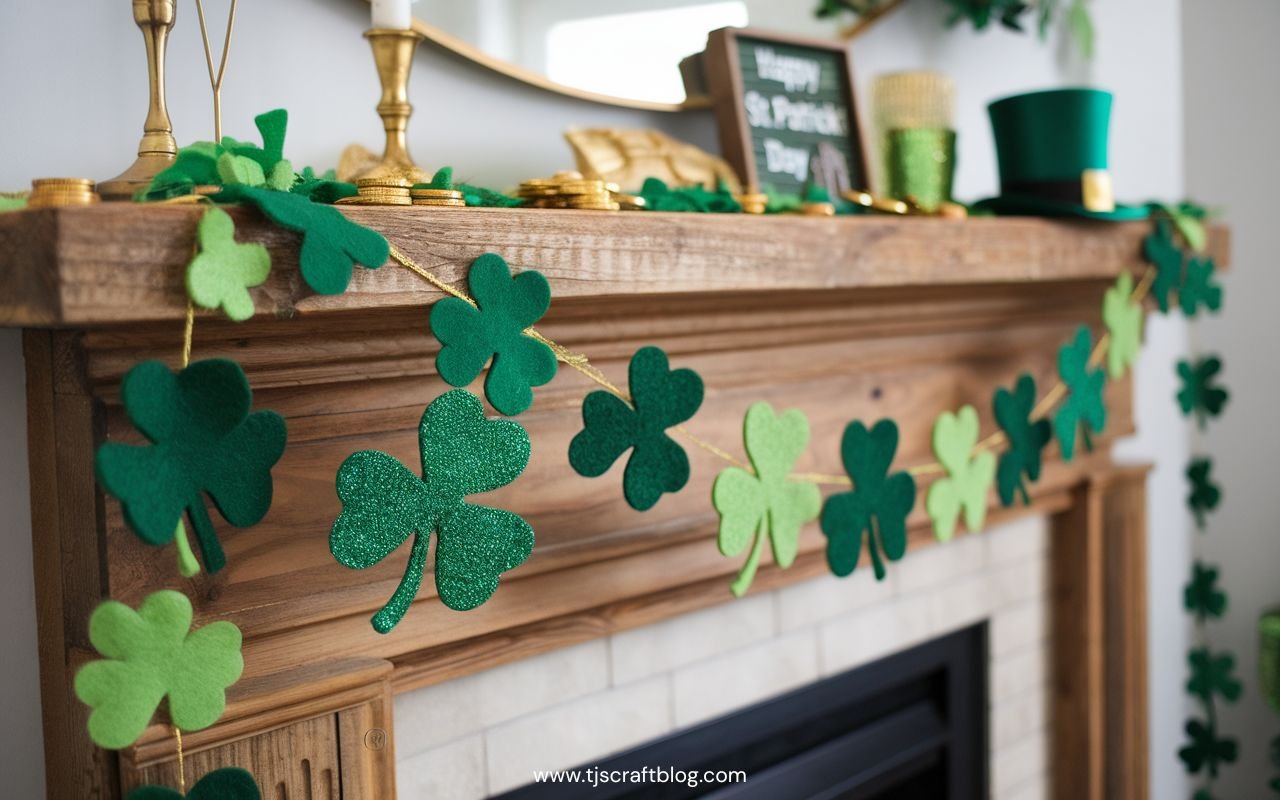
- Green felt (various shades): Opt for a range of traditional green tones to create visual depth and interest. Consider using different textures of felt, such as standard craft felt, glitter felt, or textured felt, to add variety.
- Scissors: Sharp scissors are essential for clean cuts.
- String or twine: Choose a sturdy string or twine that complements your decor.
- Optional: Embellishments: Glitter, buttons, fabric paint, or other decorative items to personalize your garland.
- Optional: Shamrock-shaped cookie cutters or printable templates: For tracing perfect shamrocks.
Preparing the Felt:
To ensure your shamrocks are uniform and visually appealing, we’ll need to prepare the felt.
- Using Templates: If you have shamrock-shaped cookie cutters or printable templates, place them on the felt and trace around them with a fabric marker or pen. If you don’t have templates, you can freehand your shamrock shapes, or search for shamrock outlines online to print out.
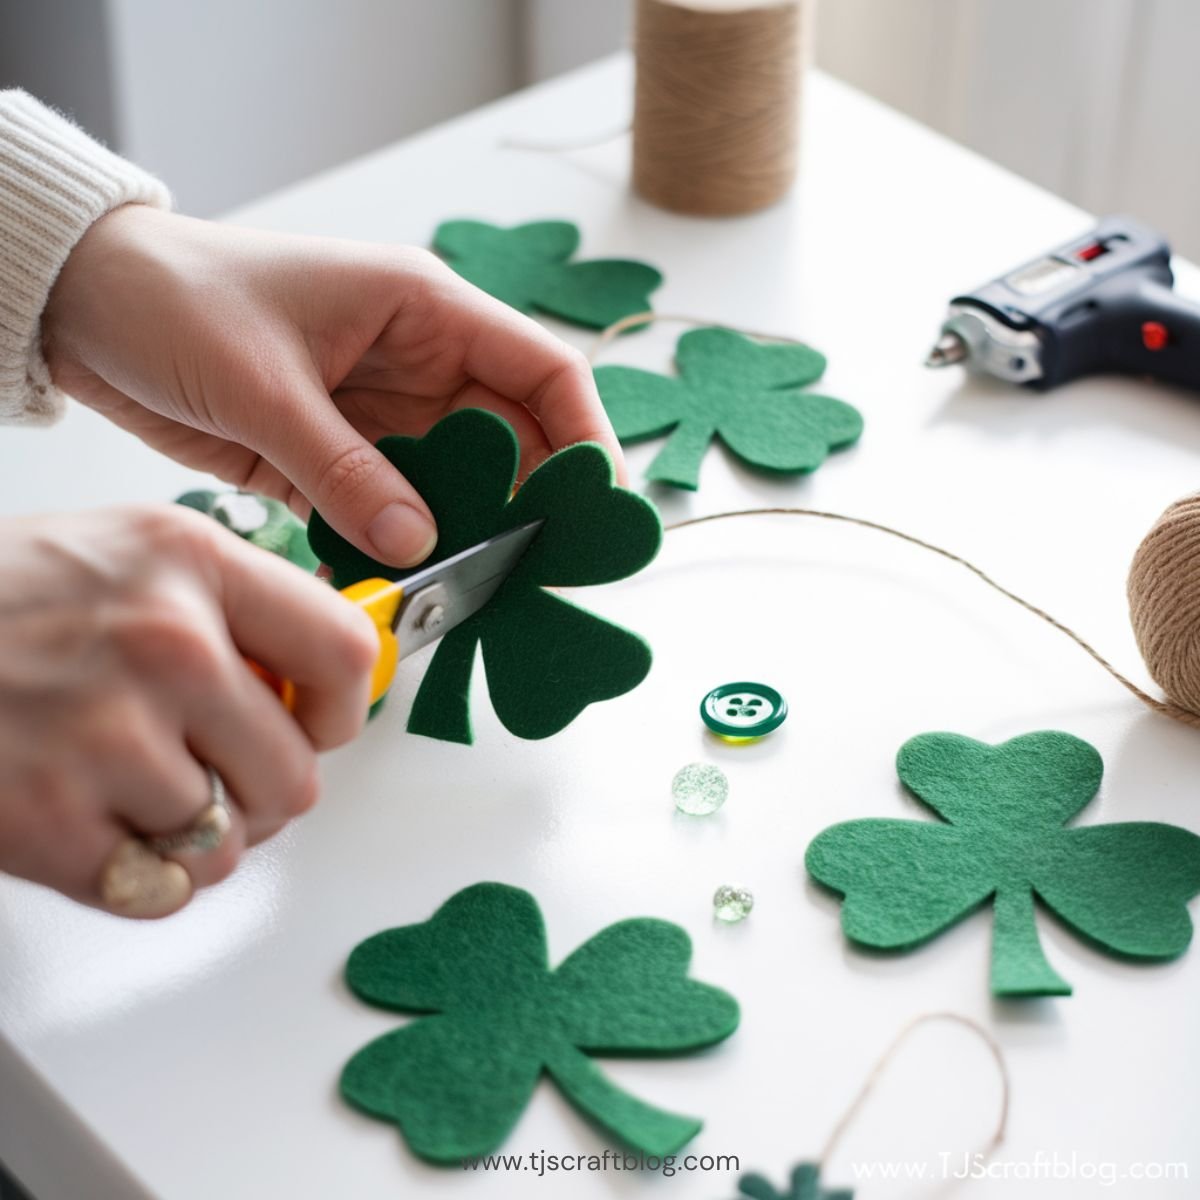
- Cutting: Carefully cut out the traced shamrock shapes using your scissors. For variety, cut shamrocks in different sizes. This adds a playful and dynamic element to your garland.
A Brief History of the Shamrock
The shamrock’s association with St. Patrick’s Day stems from the legend of Saint Patrick, the patron saint of Ireland. It’s said that he used the three-leafed shamrock to explain the concept of the Holy Trinity (Father, Son, and Holy Spirit) to the Irish people. This simple plant became a powerful symbol of Irish Christianity and, eventually, a national emblem. Its presence in St. Patrick’s Day celebrations is a nod to Ireland’s rich cultural and religious history.
Step-by-Step Instructions
Cutting the Shamrocks:
- Tracing: Place your chosen shamrock template or cookie cutter on the felt and trace around it. If you’re freehanding, draw your shamrock shapes directly onto the felt.
- Cutting: Carefully cut along the traced lines using your scissors. For clean, precise shapes, use sharp scissors and make smooth, continuous cuts.
- Varying Sizes: Cut shamrocks in different sizes to add visual interest to your garland. This can be achieved by using different-sized templates or freehanding varying sizes.
Assembling the Garland:

- Arranging: Lay out your cut shamrocks in the order you want them to appear on the garland. Experiment with different arrangements and spacing to find a visually appealing layout.
- Spacing: Decide on the spacing between your shamrocks. Consistent spacing creates a neat, uniform look, while varied spacing adds a playful touch.
- Attaching: Here are three methods for attaching your shamrocks to the string or twine:
- Slits: Make small slits in the top of each shamrock and thread the string through the slits.
- Knots: Tie a small knot in the string at the desired location for each shamrock. Then, place the shamrock against the knot and tie another knot to secure it.
- Hot Glue: If you wish to use hot glue, place the shamrock on a flat surface, place a small amount of hot glue on the back of the shamrock, and then press the string into the hot glue. Hold until the glue has cooled.
Embellishing the Garland (Optional):
- Glitter: Apply fabric glue to the edges or surface of the shamrocks and sprinkle glitter over the glue. Allow it to dry completely.
- Buttons: Sew or glue small green or gold buttons onto the shamrocks for added texture and sparkle.
- Fabric Paint: Use fabric paint to add patterns or designs to the shamrocks. Consider painting small dots, stripes, or swirls.
Displaying Your Shamrock Garland
Once your shamrock garland is complete, it’s time to showcase your handiwork. Here are some ideas for where to hang it:
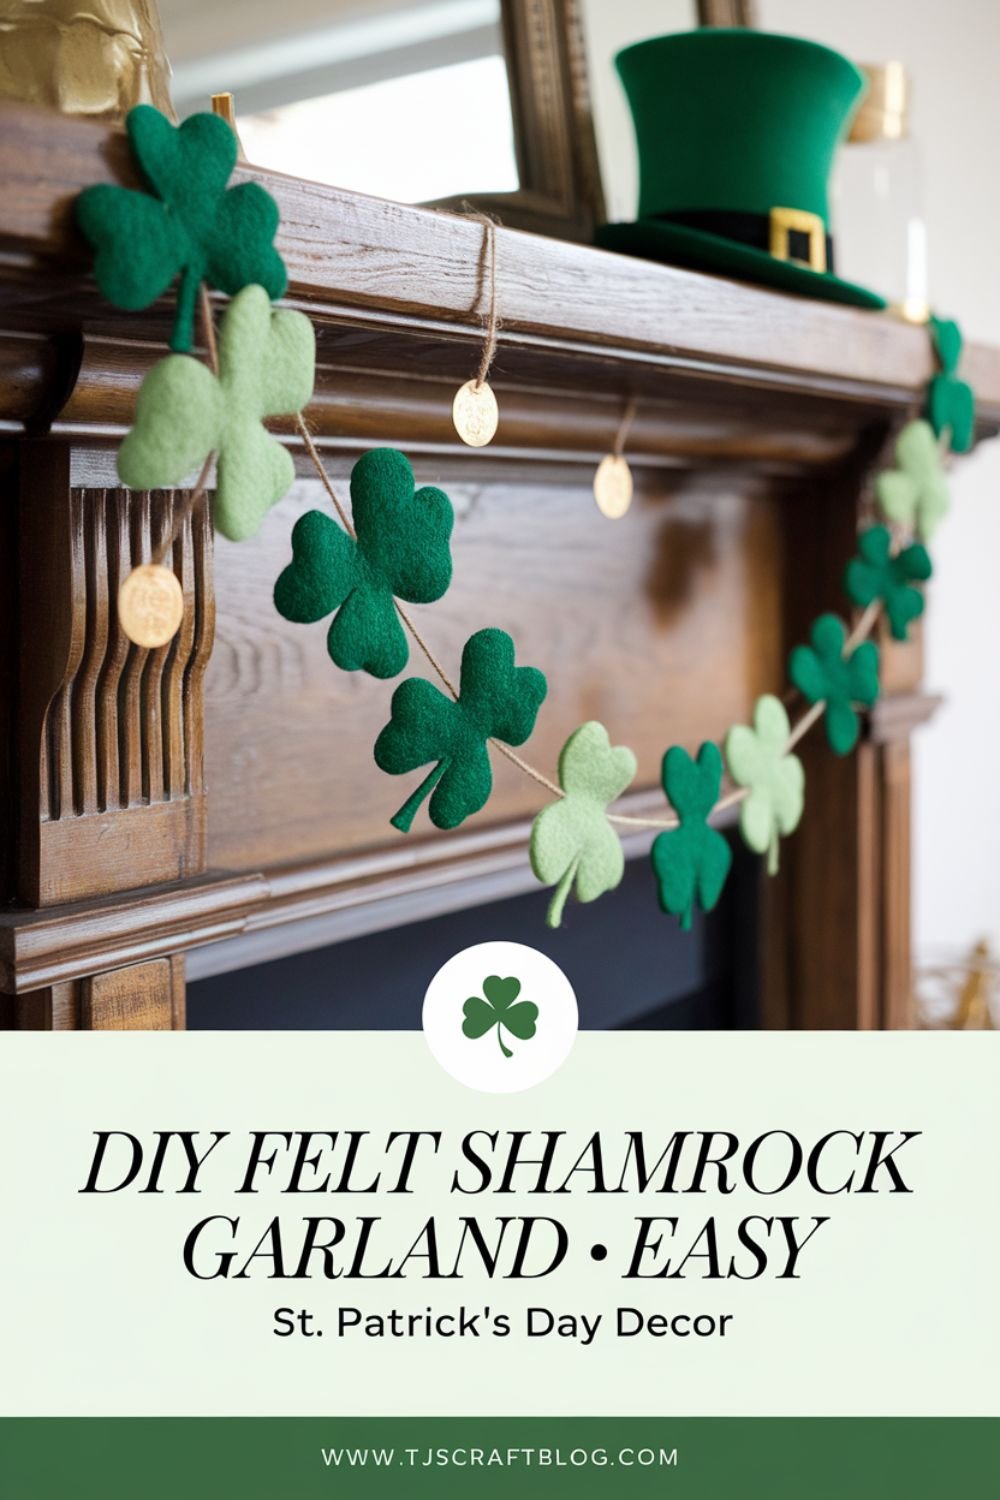
- Mantelpiece: Drape the garland across your mantelpiece for a festive focal point.
- Windows: Hang the garland across your windows to add a touch of St. Patrick’s Day cheer.
- Walls: Adorn your walls with the garland to create a festive backdrop.
- Doorways: Hang the garland across doorways to welcome guests with a touch of Irish spirit.
Tips and Troubleshooting
- If your felt is thin, you may want to double up the layers for added stability.
- To prevent fraying, consider using pinking shears to cut the felt.
- If you’re using hot glue, be careful not to burn your fingers.
- If you are having trouble with spacing, lay your shamrocks out on a table, in the order that you want them, and measure the distance between each shamrock before attatching them to your string.
Final Thoughts
Creating your own felt shamrock garland is a delightful way to celebrate St. Patrick’s Day and add a personal touch to your decorations. This simple and enjoyable craft is perfect for all skill levels, and the finished product is sure to bring a festive spirit to your home.
We’d love to see your finished shamrock garlands! Share your creations on social media using the hashtag #ShamrockGarlandDIY. Don’t forget to explore our other St. Patrick’s Day craft ideas for more festive inspiration. Leave a comment below and let us know how your garland turned out! And, subscribe to our blog for more fun and easy craft tutorials.


