
Valentine’s Day is a celebration of love, and what better way to express your affection than with homemade treats? There’s something truly special about a gift made with your own hands, a personal touch that speaks volumes. Whether you’re baking for a romantic partner, friends, family, or even yourself (self-love is important!), these delicious and easy-to-make Valentine’s Day treats are sure to sweeten the occasion. Get ready to unleash your inner baker and create some edible masterpieces!
This year, skip the store-bought chocolates and dive into the joy of creating something truly unique. From decadent chocolate bark to whimsical “Conversation Heart” Rice Krispie treats, we’ve got a little something for everyone. These recipes are designed for both beginners and intermediate bakers, so don’t worry if you’re not a professional chef. With a little love and these simple instructions, you’ll be whipping up delightful Valentine’s Day goodies in no time. So, grab your aprons, gather your ingredients, and let’s get baking!
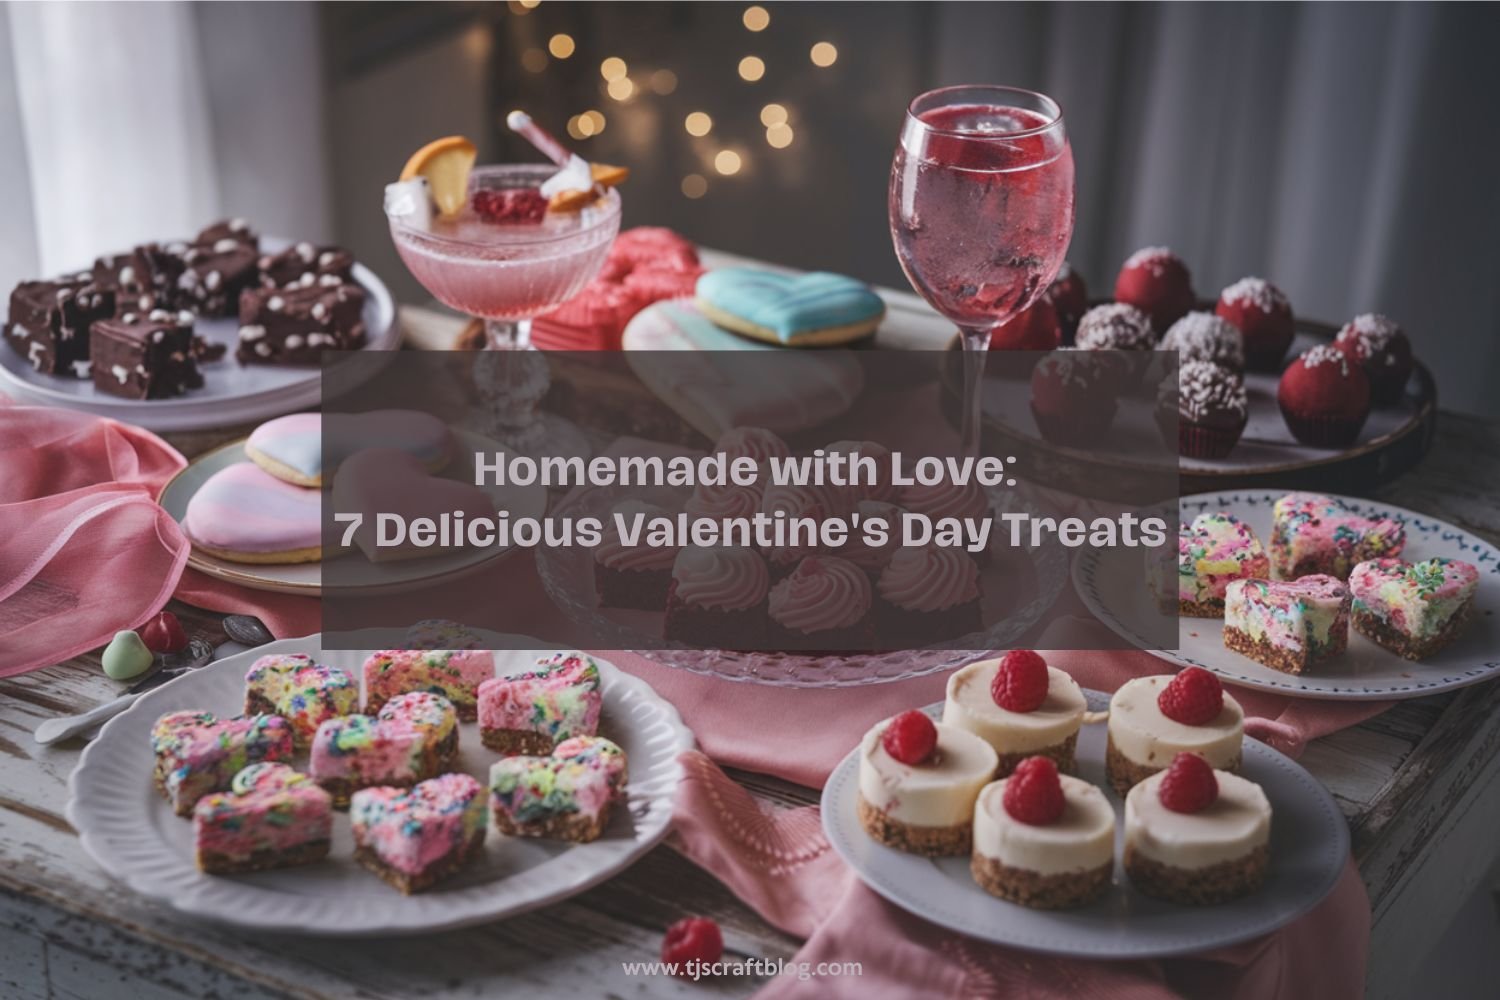
Here are seven delightful Valentine’s Day treats to make this year extra special:
1. Heart-Shaped Chocolate Bark

Chocolate bark is a wonderfully versatile treat. Melted chocolate is spread thin, then decorated with various toppings before hardening. It’s simple, customizable, and looks beautiful.
Ingredients:
- 16 ounces of high-quality chocolate (dark, milk, or white, as per your preference)
- 1/2 cup of dried cranberries or raspberries (for a pop of color and tartness)
- 1/2 cup of chopped nuts (like almonds, pistachios, or pecans)
- Heart-shaped cookie cutters
Instructions:
- Prep Your Workspace: Line a baking sheet with parchment paper. Arrange the heart-shaped cookie cutters on the sheet.
- Melt the Chocolate:
- Double Boiler Method: Place the chopped chocolate in a heatproof bowl over a pot of simmering water. Stir until melted and smooth.
- Microwave Method: Break the chocolate into pieces and place them in a microwave-safe bowl. Microwave in 30-second intervals, stirring in between, until melted and smooth.
- Pour and Spread: Pour the melted chocolate into the cookie cutters, spreading it evenly to fill each heart shape. Tap the baking sheet gently to remove any air bubbles.
- Add Toppings: While the chocolate is still warm, sprinkle the dried cranberries/raspberries and chopped nuts evenly over the surface.
- Cool and Set: Place the baking sheet in the refrigerator for about 30 minutes, or until the chocolate is completely set.
- Unmold the Hearts: Once set, carefully remove the heart-shaped chocolate bark from the cookie cutters.
- Serve and Enjoy: Arrange the heart-shaped chocolate bark on a serving plate or package them in a decorative box for gifting.
Feel free to customize this recipe to suit your taste.
Imagine This: Imagine rich, dark chocolate studded with ruby-red dried cranberries and crunchy pistachios, or creamy white chocolate sprinkled with pastel-colored sprinkles. The possibilities are endless!
Idea Deep Dive: Experiment with different chocolate types and flavor combinations. Add a swirl of peanut butter to your chocolate or sprinkle with sea salt for a salty-sweet treat. Package the bark in cellophane bags tied with ribbon for a charming gift.You can get creative with your toppings. Try adding crushed candy canes, coconut flakes, or edible glitter for a festive touch. For a layered effect, you can melt different types of chocolate (like white and dark) and swirl them together before adding toppings.
2. Personalized Heart-Shaped Cookies

Classic sugar cookies cut into heart shapes and decorated with royal icing are a timeless Valentine’s Day treat. Personalizing them with names or messages makes them extra special.
Ingredients:
For the Cookies:
- 2 3/4 cups all-purpose flour
- 1 teaspoon baking powder
- 1/2 teaspoon salt
- 1 cup unsalted butter, softened
- 1 1/2 cups granulated sugar
- 1 large egg
- 1 teaspoon vanilla extract
- Heart-shaped cookie cutters
For the Royal Icing:
- 3 cups powdered sugar, sifted
- 2 tablespoons meringue powder
- 6 tablespoons water
- Food coloring (optional)
- Piping bags and tips
Instructions:
For the Cookies:
- Preheat the Oven: Preheat your oven to 350°F (175°C). Line a baking sheet with parchment paper.
- Mix Dry Ingredients: In a medium bowl, whisk together the flour, baking powder, and salt. Set aside.
- Cream Butter and Sugar: In a large bowl, beat the softened butter and granulated sugar together until light and fluffy, about 3-4 minutes.
- Add Egg and Vanilla: Beat in the egg and vanilla extract until well combined.
- Combine Ingredients: Gradually add the dry ingredients to the wet ingredients, mixing until just combined. Avoid overmixing.
- Roll Out Dough: On a lightly floured surface, roll out the dough to about 1/4 inch thickness. Use heart-shaped cookie cutters to cut out the dough and place the cookies on the prepared baking sheet.
- Bake: Bake the cookies for 10-12 minutes or until the edges are lightly golden. Allow the cookies to cool on the baking sheet for a few minutes before transferring them to a wire rack to cool completely.
For the Royal Icing:
- Prepare Icing: In a large bowl, beat the powdered sugar, meringue powder, and water together until stiff peaks form, about 5-7 minutes.
- Color Icing: If desired, divide the icing into separate bowls and add food coloring to each bowl. Mix until the color is evenly distributed.
- Decorate Cookies: Transfer the icing to piping bags fitted with small round tips. Pipe the outline of each cookie with icing and let it set. Flood the inside of the outline with more icing and use a toothpick to spread it evenly.
- Personalize: Once the base icing is set, use a contrasting color to write names or messages on the cookies. Get creative with your designs and enjoy the process!
- Allow to Dry: Let the decorated cookies dry completely before stacking or packaging them. This usually takes a few hours or overnight.
Tips:
- Chilling the Dough: If the dough becomes too soft while rolling out, chill it in the refrigerator for 10-15 minutes.
- Icing Consistency: Adjust the consistency of the royal icing by adding a little more water if it’s too thick or more powdered sugar if it’s too thin.
- Storage: Store the decorated cookies in an airtight container at room temperature for up to a week.
Imagine This: Picture delicate sugar cookies with pastel-colored icing, each one bearing the name of a loved one or a sweet Valentine’s Day message.
Idea Deep Dive: Use different icing techniques, like flooding and outlining, to create intricate designs. Add edible glitter or sprinkles for extra sparkle.
3. “Love Potion” Cocktail or Mocktail

A signature cocktail or mocktail adds a festive touch to any Valentine’s Day celebration. Think pinks, reds, and other romantic hues.
“Love Potion” Cocktail
Ingredients:
- 2 oz vodka
- 1 oz peach schnapps
- 2 oz cranberry juice
- 1 oz pomegranate juice
- 1/2 oz fresh lime juice
- 1/2 oz simple syrup
- Ice
- Pomegranate seeds (for garnish)
- Fresh mint leaves (for garnish)
Instructions:
- Mix Ingredients: In a cocktail shaker, combine the vodka, peach schnapps, cranberry juice, pomegranate juice, fresh lime juice, and simple syrup. Fill the shaker with ice.
- Shake Well: Shake vigorously until well chilled.
- Serve: Strain the mixture into a chilled martini glass or a coupe glass.
- Garnish: Garnish with a few pomegranate seeds and a sprig of fresh mint.
“Love Potion” Mocktail
Ingredients:
- 2 oz pomegranate juice
- 2 oz cranberry juice
- 1 oz peach nectar
- 1/2 oz fresh lime juice
- 1/2 oz simple syrup
- Sparkling water or club soda
- Ice
- Pomegranate seeds (for garnish)
- Fresh mint leaves (for garnish)
Instructions:
- Mix Ingredients: In a shaker, combine the pomegranate juice, cranberry juice, peach nectar, fresh lime juice, and simple syrup. Fill the shaker with ice.
- Shake Well: Shake vigorously until well chilled.
- Serve: Strain the mixture into a glass filled with ice. Top with sparkling water or club soda.
- Garnish: Garnish with a few pomegranate seeds and a sprig of fresh mint.
These “Love Potion” drinks are sure to add a touch of romance and festivity to your Valentine’s Day celebration. Cheers to love and happiness!
Imagine This: A vibrant pink cocktail with a hint of rose, garnished with a rim of pink or red colored sugar.
Idea Deep Dive: For a sweeter twist, you can rim the glass with sugar before pouring the cocktail or mocktail. Add a few drops of rose water to the mocktail for an extra romantic touch.
4. Strawberry Cream Cheese Brownies

These brownies combine the richness of chocolate with a swirl of creamy strawberry goodness.
Ingredients:
For the Brownie Layer:
- 1/2 cup unsalted butter, melted
- 1 cup granulated sugar
- 2 large eggs
- 1 teaspoon vanilla extract
- 1/3 cup unsweetened cocoa powder
- 1/2 cup all-purpose flour
- 1/4 teaspoon salt
- 1/4 teaspoon baking powder
For the Strawberry Cream Cheese Swirl:
- 8 oz cream cheese, softened
- 1/4 cup granulated sugar
- 1 large egg yolk
- 1/2 teaspoon vanilla extract
- 1/3 cup strawberry jam or preserves
Instructions:
For the Brownie Layer:
- Preheat the Oven: Preheat your oven to 350°F (175°C). Line an 8×8-inch baking pan with parchment paper, leaving an overhang on the sides for easy removal.
- Mix Wet Ingredients: In a large bowl, whisk together the melted butter, granulated sugar, eggs, and vanilla extract until well combined.
- Add Dry Ingredients: Sift in the cocoa powder, flour, salt, and baking powder. Stir until just combined, being careful not to overmix.
- Pour Batter: Pour the brownie batter into the prepared baking pan and spread it evenly.
For the Strawberry Cream Cheese Swirl:
- Prepare Cream Cheese Mixture: In a medium bowl, beat the softened cream cheese, granulated sugar, egg yolk, and vanilla extract until smooth and creamy.
- Add Strawberry Jam: Drop spoonfuls of the cream cheese mixture and strawberry jam over the brownie batter. Use a knife or a skewer to swirl the mixtures together, creating a marbled effect.
- Bake: Bake in the preheated oven for 30-35 minutes, or until a toothpick inserted into the center comes out with a few moist crumbs.
- Cool and Set: Allow the brownies to cool completely in the pan on a wire rack.
- Serve: Once cooled, lift the brownies out of the pan using the parchment paper overhang. Cut into squares and enjoy!
Imagine This: Fudgy, chocolatey brownies with a beautiful swirl of pink strawberry cream cheese.
Idea Deep Dive: For an extra touch, you can top the brownies with fresh strawberries before serving. These brownies can be stored in an airtight container in the refrigerator for up to a week.
Enjoy these decadent Strawberry Cream Cheese Brownies that are sure to be a hit with anyone who tries them!
5. Red Velvet Truffles

These decadent truffles are made from red velvet cake crumbs and cream cheese frosting, then dipped in chocolate.
Ingredients:
For the Red Velvet Cake:
- 1 1/4 cups all-purpose flour
- 1 cup granulated sugar
- 1 tablespoon cocoa powder
- 1/2 teaspoon baking powder
- 1/4 teaspoon baking soda
- 1/2 teaspoon salt
- 1/2 cup buttermilk, at room temperature
- 1/2 cup vegetable oil
- 1 large egg, at room temperature
- 1 teaspoon vanilla extract
- 1 teaspoon red food coloring
- 1/2 teaspoon white vinegar
For the Cream Cheese Frosting:
- 4 oz cream cheese, softened
- 1/4 cup unsalted butter, softened
- 1 1/2 cups powdered sugar, sifted
- 1/2 teaspoon vanilla extract
For the Chocolate Coating:
- 12 oz semisweet or dark chocolate, finely chopped
- Red and white sprinkles (optional, for decoration)
Instructions:
For the Red Velvet Cake:
- Preheat the Oven: Preheat your oven to 350°F (175°C). Grease and flour a 9×9-inch baking pan or line it with parchment paper.
- Mix Dry Ingredients: In a medium bowl, whisk together the flour, granulated sugar, cocoa powder, baking powder, baking soda, and salt.
- Mix Wet Ingredients: In a large bowl, combine the buttermilk, vegetable oil, egg, vanilla extract, and red food coloring.
- Combine Ingredients: Gradually add the dry ingredients to the wet ingredients, mixing until just combined. Stir in the white vinegar.
- Bake: Pour the batter into the prepared baking pan and spread it evenly. Bake for 25-30 minutes, or until a toothpick inserted into the center comes out clean. Allow the cake to cool completely.
For the Cream Cheese Frosting:
- Cream Butter and Cream Cheese: In a large bowl, beat the softened cream cheese and butter together until smooth and creamy.
- Add Powdered Sugar and Vanilla: Gradually add the powdered sugar and vanilla extract, beating until well combined and smooth.
For the Truffles:
- Crumble the Cake: Once the red velvet cake has cooled, crumble it into fine crumbs in a large bowl.
- Combine Cake and Frosting: Add the cream cheese frosting to the cake crumbs and mix until well combined. The mixture should be moist and hold together when pressed.
- Form Truffles: Roll the mixture into 1-inch balls and place them on a baking sheet lined with parchment paper. Freeze the balls for about 30 minutes, or until firm.
For the Chocolate Coating:
- Melt the Chocolate: In a microwave-safe bowl, melt the chopped chocolate in 30-second intervals, stirring in between, until smooth and melted.
- Dip the Truffles: Using a fork or a dipping tool, dip each truffle into the melted chocolate, allowing any excess to drip off. Place the dipped truffles back on the parchment-lined baking sheet.
- Decorate: While the chocolate is still wet, sprinkle red and white sprinkles on top of each truffle for a festive touch.
- Set: Allow the chocolate coating to set completely at room temperature or in the refrigerator.
Imagine This: Vibrant red truffles coated in creamy white chocolate, a delightful combination of flavors and textures.
Idea Deep Dive: Store the truffles in an airtight container in the refrigerator for up to a week. For a decorative drizzle, you can melt white chocolate and use a piping bag to create a fine drizzle over the truffles. Use different colored candy melts for dipping the truffles.
These Red Velvet Truffles are sure to be a hit with their rich, chocolatey goodness and creamy filling. Enjoy making and sharing these delightful treats!
6. Mini Raspberry Cheesecakes

Individual mini cheesecakes with a burst of raspberry flavor are the perfect portion-controlled treat.
Ingredients:
For the Crust:
- 1 cup graham cracker crumbs
- 2 tablespoons granulated sugar
- 1/4 cup unsalted butter, melted
For the Cheesecake Filling:
- 16 oz cream cheese, softened
- 1/2 cup granulated sugar
- 2 large eggs
- 1 teaspoon vanilla extract
- 1/4 cup sour cream
For the Raspberry Swirl:
- 1/2 cup fresh or frozen raspberries
- 2 tablespoons granulated sugar
- 1 teaspoon lemon juice
Instructions:
For the Crust:
- Preheat the Oven: Preheat your oven to 325°F (165°C). Line a 12-cup muffin tin with cupcake liners.
- Make the Crust: In a medium bowl, mix the graham cracker crumbs, granulated sugar, and melted butter until well combined. Press about 1 tablespoon of the mixture firmly into the bottom of each cupcake liner to form the crust.
For the Raspberry Swirl:
- Prepare the Raspberry Mixture: In a small saucepan, combine the raspberries, granulated sugar, and lemon juice. Cook over medium heat, stirring frequently, until the raspberries break down and the mixture thickens, about 5-7 minutes.
- Strain: Strain the raspberry mixture through a fine-mesh sieve to remove the seeds. Allow the raspberry sauce to cool slightly.
For the Cheesecake Filling:
- Beat Cream Cheese and Sugar: In a large bowl, beat the softened cream cheese and granulated sugar together until smooth and creamy.
- Add Eggs and Vanilla: Add the eggs one at a time, beating well after each addition. Mix in the vanilla extract and sour cream until the mixture is smooth and well combined.
Assemble the Cheesecakes:
- Fill the Cups: Divide the cheesecake filling evenly among the prepared muffin cups, filling each about 3/4 full.
- Add Raspberry Swirl: Drop small spoonfuls of the raspberry sauce on top of each cheesecake. Use a toothpick or a skewer to swirl the raspberry sauce into the cheesecake filling.
Bake and Chill:
- Bake: Bake in the preheated oven for 18-20 minutes, or until the centers of the cheesecakes are set.
- Cool: Allow the cheesecakes to cool in the muffin tin for about 15 minutes before transferring them to a wire rack to cool completely.
- Chill: Refrigerate the mini cheesecakes for at least 2 hours before serving.
Imagine This: Creamy mini cheesecakes topped with fresh, juicy raspberries.
Idea Deep Dive: For a decorative touch, you can top each mini cheesecake with a fresh raspberry and a mint leaf before serving. Use different berries, like blueberries or strawberries, for the filling. These mini cheesecakes can be stored in an airtight container in the refrigerator for up to 5 days.
7. “Conversation Heart” Rice Krispie Treats

These fun and whimsical treats are a playful take on classic Rice Krispie treats, decorated like conversation hearts.
Ingredients:
- 6 cups Rice Krispies cereal
- 1 package (10 oz) mini marshmallows
- 3 tablespoons unsalted butter
- Gel food coloring (pink, purple, yellow, green, blue)
- Heart-shaped cookie cutters
- 1/2 cup white chocolate chips
- Food-safe markers (for writing messages)
Instructions:
For the Rice Krispie Treats:
- Prepare Your Workspace: Line a 9×13-inch baking pan with parchment paper or lightly grease it.
- Melt the Butter and Marshmallows: In a large saucepan, melt the butter over low heat. Add the mini marshmallows and stir continuously until completely melted and smooth. Remove from heat.
- Color the Mixture: Divide the melted marshmallow mixture into separate bowls (one for each color you want to make). Add a few drops of gel food coloring to each bowl and stir until the color is evenly distributed.
- Mix in the Cereal: Add 2 cups of Rice Krispies cereal to each colored marshmallow mixture and stir until well coated.
- Press into Pan: Press each colored mixture into the prepared baking pan, creating layers if desired. Use a spatula to press the mixture evenly and firmly.
- Cool and Set: Allow the Rice Krispie treats to cool completely in the pan.
For Shaping and Decorating:
- Cut Out Hearts: Once cooled, use heart-shaped cookie cutters to cut out heart shapes from the Rice Krispie treats. Gently press down and lift the cutter to create clean shapes.
- Melt the White Chocolate: In a microwave-safe bowl, melt the white chocolate chips in 30-second intervals, stirring in between, until smooth and melted.
- Write Messages: Use the food-safe markers to write fun and whimsical messages on the hearts, similar to traditional conversation hearts. Be creative with phrases like “Be Mine,” “XOXO,” and “Sweetheart.”
- Decorate with Chocolate: Dip the bottom of each heart into the melted white chocolate, then place on a parchment-lined baking sheet to set. You can also drizzle some white chocolate over the tops for an extra touch.
Imagine This: Colorful Rice Krispie treats shaped like hearts, each one bearing a sweet or silly message.
Idea Deep Dive: Use some fun mix-ins like sprinkles or mini M&M’s to the Rice Krispie mixture before pressing it into the pan. Store the treats in an airtight container at room temperature for up to 3 days.
These “Conversation Heart” Rice Krispie Treats are sure to bring joy and whimsy to any Valentine’s Day celebration. Have fun making and sharing these playful treats!
Presentation and Gifting Ideas
Presentation is key when it comes to homemade gifts. Package your treats in cute boxes, cellophane bags, or mason jars. Add ribbons, tags, and personalized notes to make your gifts even more special. Create a romantic atmosphere by setting the table with candles, flowers, and your beautiful homemade treats.
Sweeten Your Valentine’s Day
These seven delicious Valentine’s Day treats are a wonderful way to express your love and appreciation. From the simplicity of chocolate bark to the creativity of personalized cookies, there’s a treat for every taste and skill level. So, get creative, have fun, and enjoy the process of making something special for the people you care about.
What treats are you most excited to try? Share your Valentine’s Day baking adventures in the comments below! Don’t forget to share your creations on social media and tag us @tjscraftblog. Subscribe to our blog for more DIY inspiration, join our online community, and leave a comment with your favorite idea or additional suggestions you may have.